Most gardeners have dabbled at keeping compost worms at some point. However, home vermiculture (worm farming) methods usually differ greatly from the most efficient and yield-producing methods professional producers use. You may have seen various vermiculture methods such as a worm tower, bathtub or bucket, but these are not usually the most efficient methods or how large-scale worm farmers would operate. A much more efficient way to keep worms is to breed and raise worms outside of your worm-casting operation in worm breeder bins.
My background
I have been keeping worms since around 2014. I got into vermiculture before I got into farming and permaculture when I used to live in the city. As part of my zero-waste mission in my apartment, I started a small home worm farm in my kitchen to turn food scraps and organic matter into worm castings. Soon enough, I had loads of worm castings and had to start growing plants to use the castings. It was the worms that got me into gardening! Now, in 2024, I live on a homestead and run a permaculture farm. I sell compost worms, worm castings and worm tea. I also sell veggie boxes and trees for food forests. I have an agroforest with over 300 varieties of fruit trees. My worms power all of this production through their castings and worm tea.
Why should you start a worm farm today? (this section could be taken out as this article is targeted at people that know what a worm farm is and have tried one)
Worms are a powerful workforce that never complain. Work 24 hours a day and turn waste into the following valuable resources.
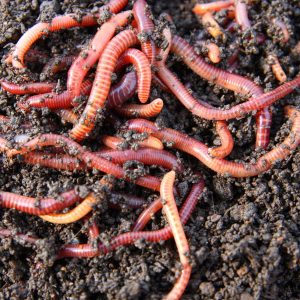
More worms. Bred correctly, composting worms multiply exponentially. Anyone keeping worms correctly can quickly have a little side hustle selling worms. These worms can be sold or used in vermicompost systems, toilets, for fishing or be used as feed for reptiles and chickens.
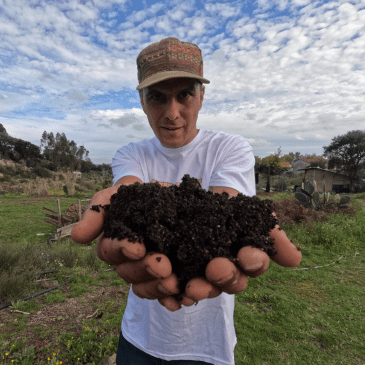
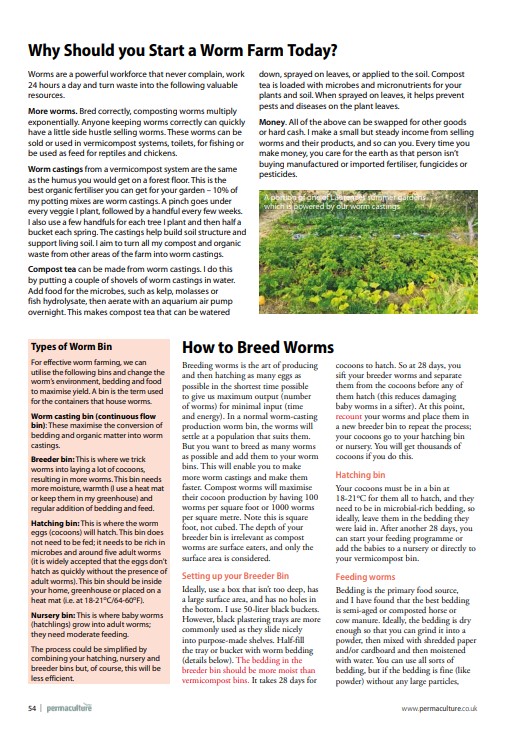
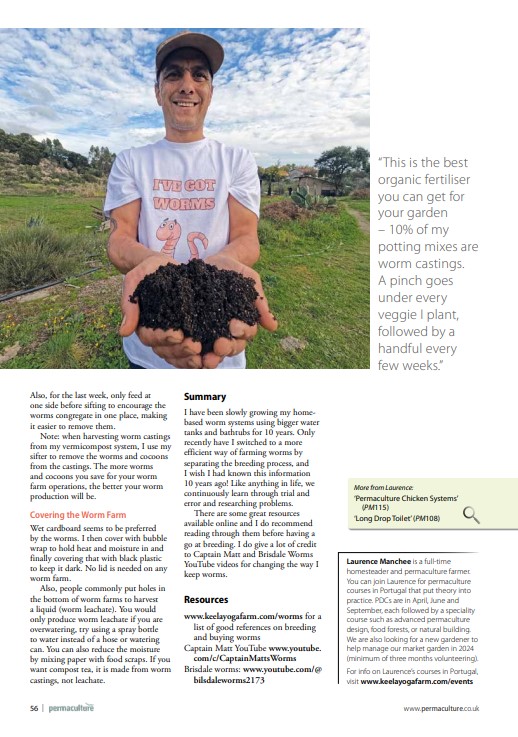
Worm castings from a vermicompost system are the same as the humus you would get on a forest floor. This is the best organic fertiliser you can get for your garden. 10% of my potting mixes are worm castings. A pinch goes under every veggie I plant, followed by a handful every few weeks. I also use a few handfuls for each tree I plant and then half a bucket each spring. The castings help build soil structure and support living soil. I aim to turn all my compost and organic waste from other areas of the farm into worm castings.
Compost Tea can be made from worm castings. I do this by putting a couple of shovels of worm castings in water. Add food for the microbes, such as kelp, molasses or fish hydrolysate. Then, aerate with an aquarium air pump overnight. This makes compost tea that can be watered down, sprayed on leaves, or put into the soil. Compost tea is loaded with microbes and micronutrients for your plants and soil. When sprayed on leaves, it helps prevent pests and diseases on the plant leaves.
Money. All of the above can be swapped for other goods or hard cash. I make a small but steady income from selling worms and their products, and so can you. Every time you make money, you care for the earth as that person isn’t buying manufactured or imported fertiliser, fungicides, or pesticides.
Types of worm bins.
For effective worm farming, we can utilise the following bins and change the worm´s environment, bedding and food to maximise yield. A bin is the term used for the containers that house worms.
Worm casting bins (Continuous flow bin): These maximise the conversion of bedding and organic matter into worm castings.
Breeder Bins: This is where we trick worms into laying a lot of cocoons, resulting in more worms. This bin needs more moisture, temperature control (I use a heat mat or keep them in my greenhouse) and regular addition of bedding and feed.
Hatching Bins: This is where the worm eggs (cocoons) will hatch. This bin does not need to be fed; it needs to be rich in microbes and around five adult worms (it is widely accepted that the eggs don’t hatch as quickly without the presence of adult worms). This bin should be inside your home, greenhouse or with a heat mat (i.e at 18-21 degrees c).
Nursery Bins: This is where baby worms (hatchlings) grow into adult worms and need moderate feeding.
The process could be simplified by combining your hatching, nursery and breeder bins, but of course, this will be less efficient.
How to breed worms
Breeding worms is the art of producing and then hatching as many eggs as possible in the shortest time possible to give us maximum output (number of worms) for minimal input (time). In a normal worm-casting production worm bin, the worms will settle at a population that suits them. But you want to breed as many worms as possible and add them to your worm bins. This will enable you to make more worm castings and make them faster.Compost worms will maximise their cocoon production by having 100 worms per square foot or 1000 worms per square meter. Note this is square foot, not cubed. The depth of your breeder bin is irrelevant as compost worms are surface eaters, and only the surface area is considered.
Setting up your breeder bin
Ideally, use a box that isn’t too deep, has a large surface area, and has no holes in the bottom. I use 50-litre black buckets. However, black plastering trays are more commonly used as they slide nicely into purpose-made shelves. Half-fill the tray or bucket with worm bedding. The bedding in the breeder bin should be more moist than vermicompost bins. It takes 28 days for cocoons to hatch. So after 28 days, you sift your breeder worms and separate them from the cocoons before any of them hatch (this reduces damaging baby worms in a sifter. At this point, recount your worms and place them in a new breeder bin to repeat the process, and your cocoons go to your hatching bin or nursery. You will get thousands of cocoons if you do this.
Hatching Bin
Your cocoons must be in a bin at 18- 21 degrees C for them all to hatch, and they need to be in microbial-rich bedding, so ideally, leave them in the bedding they were laid in. After another 28 days, you can start your feeding program or add the babies to a nursery for raising babies or directly to your vermicompost bin.
Feeding Worms
Bedding is the primary food source, and I have found that the best bedding is semi-aged or composted horse or cow manure. Ideally, the bedding is dry enough so that you can grind it into a powder. The bedding is ideally mixed in with shredded paper and/or cardboard and then moistened with water. You can use all sorts of bedding, but if the bedding is fine (like powder) without any large particles, it will sift better when you want to separate worms from castings and cocoons. Professionals commonly use Peat moss and coconut core as bedding, but we prefer to avoid buying products for our bedding, especially peat moss and other imported materials. (Use what you have!). I also mix in worm chow and coffee grounds in my bedding mix.
Worm Chow is a powder of grain flour, egg shells and proteins. It is often used in commercial farms to fatten worms before selling as fishing bait. It is a dry powder ready to feed the worms on days without food scraps. I apply a very light layer on the top with molasses spray once a week or mix it with food scraps. I also mix it into the manure bedding. My recipe is 8 parts white flour, 4 parts cornflour, 0.5 parts egg shells or 0.5 agricultural lime, and 4 parts chicken feed (ideally meat chicken feed). However, you can substitute and experiment with the ingredients you have available. Always use less rather than more when feeding the worms, as they can have too much.
Food scraps can also be added in moderation. I like to add a tiny amount daily, ensuring the food scraps from 7 days ago have been eaten. If the food scraps don’t decompose fast (such as root vegetables), it is good to boil them first. Watermelon is their favourite food. However, anything with high water content and decomposes fast will work fine. Ideally, add some shredded paper with wet food scraps; this will absorb the excess moisture released from the food.
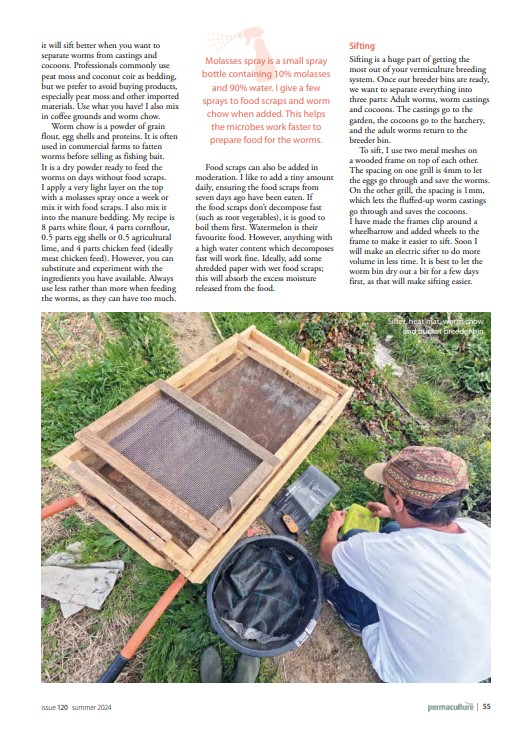
Molasses spray is a small spray bottle with 10% molasses and 90% water. I give a few sprays to food scraps and worm chow when added. This helps the microbes work faster to prepare food for the worms.
Sifting
Sifting is a huge part of getting the most out of your vermiculture breeding system. Once our breeder bins are ready. We want to separate it into three parts: adult worms, worm castings and cocoons. The castings go to the garden, the cocoons go to the hatchery, and the adult worms return to the breeder bin.
To sift, I use two metal meshes on a wooded frame on top of each other. The spacing on one grill is 4mm to let the eggs go through and save the worms. On the other grill, the spacing is 1mm, which lets the fluffed-up worm castings go through and saves the cocoons. I have made the frames clip around a wheelbarrow and added wheels to the frame to make it easier to sift. Soon I will make an electric sifter to do more volume in less time. It is best to let the worm bin dry out a bit for a few days first, as that will make sifting easier. Also, for the last week, only feed at one side before sifting to attract the worms to one side, making it easier to remove them.
Note. When harvesting worm castings from my vermicompost system, I use my sifter to remove the worms and cocoons from the castings. The more worms and cocoons you save for your worm farm operations, the better your worm production will be,
Covering the worm farm (this is another section that could be taken out but I think it is a very good tip)
Covering the worm farms with wet cardboard seems to be preferred by the worms, then covering with bubble wrap to hold heat and moisture in and then covering that with black plastic to keep it dark is an idea. No lid is needed on any worm farm.
Also, people commonly put holes in the bottom of worm farms to harvest a liquid (worm leachate). You would only produce worm leachate if you are overwatering, try using a spray bottle to water instead of a hose or watering can. You can also reduce the moisture by mixing paper with food scraps. If you want to compost tea, it is made from worm castings, not leachate.
Summary
I have been slowly growing my home-based worm systems using bigger water tanks and bathtubs for ten years. But recently, I have switched to a more efficient way of farming worms by separating the breeding process, I wish I had known this information ten years ago! Like anything in life, we continuously learn through trial and error and research problems.
There are some great resources are available online and I do recommend reading through them before having a go at breeding. I do give a lot of credit to Captain Matt and Brisdale Worms YouTube videos for changing the way I keep worms.
Please visit https://www.keelayogafarm.com/worms for links to these resources (I will update this page before you publish this article. Currently, it links to buying worms, but I will change it)
Some blurb you may or may not add to the article:
Article by laurence Manchee from Keela Permaculture Farm in Portugal. Laurence is a full-time homesteader and permaculture farmer. You can join Laurence for Permaculture courses in Portugal that put theory into practice.
PDCs are in Apil, June and September, each followed by a speciality course such as advanced permaculture design, food forests, or natural building.
We are also looking for a new garden in turn to help manage our market garden in 2024 (minimum of 3 months volunteering)
Please also read my Long Drop Vermiculture dry toilet article
My automatic worm feed for chickens in my permaculture chickens article.
Or my YouTube for worm videos.
Related Posts:
Permaculture Apprentice Portugal by Laurence Manchee December 9, 2024 Established permaculture farm Permaculture Apprentice Welcome to the Permaculture apprenticeship program in Portugal. Join our Permaculture community and deepen your skills in community management, permaculture…
Certificate in Applied Permaculture Design - A… by Laurence Manchee December 21, 2023 A Foundation to the Diploma Certificate In Applied Permaculture Design A new residential permaculture design and sustainable smallholding training. Leading to the Certificate in Applied…
Elementor #18941 by Laurence Manchee August 11, 2025 Established permaculture farm Soil Microbiology and Ecology Workshop Join soil ecologist Jake—trained in ethnobotany, ecological design, and Soil Food Web science—for a dynamic workshop blending…
How to manage invasive Mimosa trees by Laurence Manchee April 18, 2025 How to manage mimosa and invasive species trees. How to kill mimosa trees and what uses do mimosa trees have. How to Kill mimosa The…
Permaculture Apprentice Portugal - paid job by Laurence Manchee January 9, 2024 Keela Permaculture Farm is seeking a Permaculture apprentice who would like to gain experience teaching and hosting Permaculture courses wanted Keela is a sizeable 18-hectare…
Permaculture Videographer wanted by Laurence Manchee April 26, 2026 Join our permaculture community as a videographer volunteer. Off-grid farm and education centre in central Portugal, as a videographer and use your skills to help…
Calisthenic Portugal - Calistenia by Laurence Manchee February 16, 2025 Calistenia Calisthenics in Portugal Here at Keela Permaculture we have a daily class of Calisthenics or yoga to keep our body flexible, strong and mobile.…